Ratchet straps are essential for fastening goods for transportation, and once you know the correct way to use ratchet straps and when to use them, you’ll wonder why you ever utilized anything else. They feature a built-in tensioner and specified weight capabilities, making them a dependable and safe tie-down option.
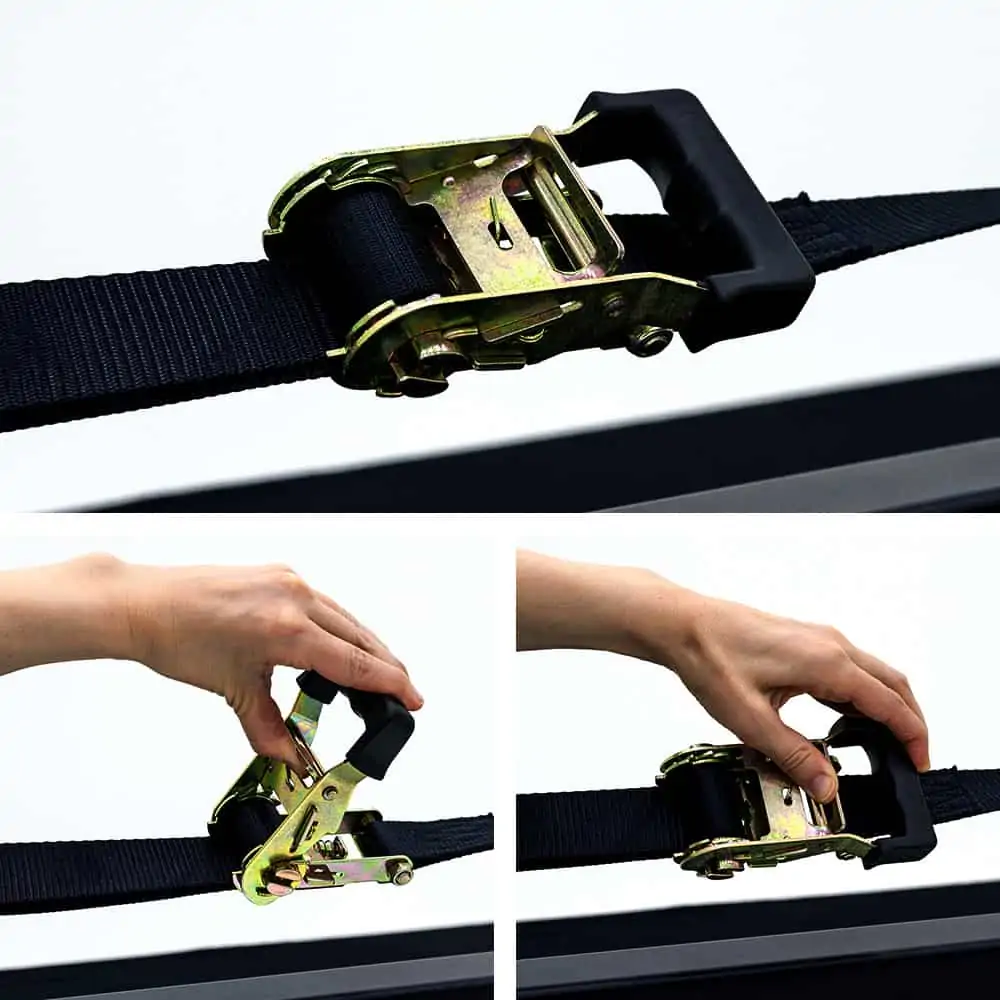
A thumbhole or tab will be positioned near the handle of a conventional ratchet strap’s ratchet plate, which acts as the ratchet mechanism. To release the lock, grab the handle and pull it out on the plate. Next, rotate the ratchet handle to the completely open or flat position while holding the plate fully out until the plate bottoms against the spring-loaded pawl release. Next, pull the strap to unwind it while pushing the ratchet handle open a bit further to release the pawl. Finally, to prepare the assembly for the next usage, close the handle.
What Is Ratchet Strap?
A ratchet strap is a tie-down tool consisting of a cloth belt and a ratcheting mechanism that enables the operator to generate tension between two ends with hooks. It’s used to keep goods safe, whether it’s in a truck bed, on a trailer, or the roof of your vehicle.
Video Credit: Fireball Tool
What Are the Different Components of a Ratchet Strap?
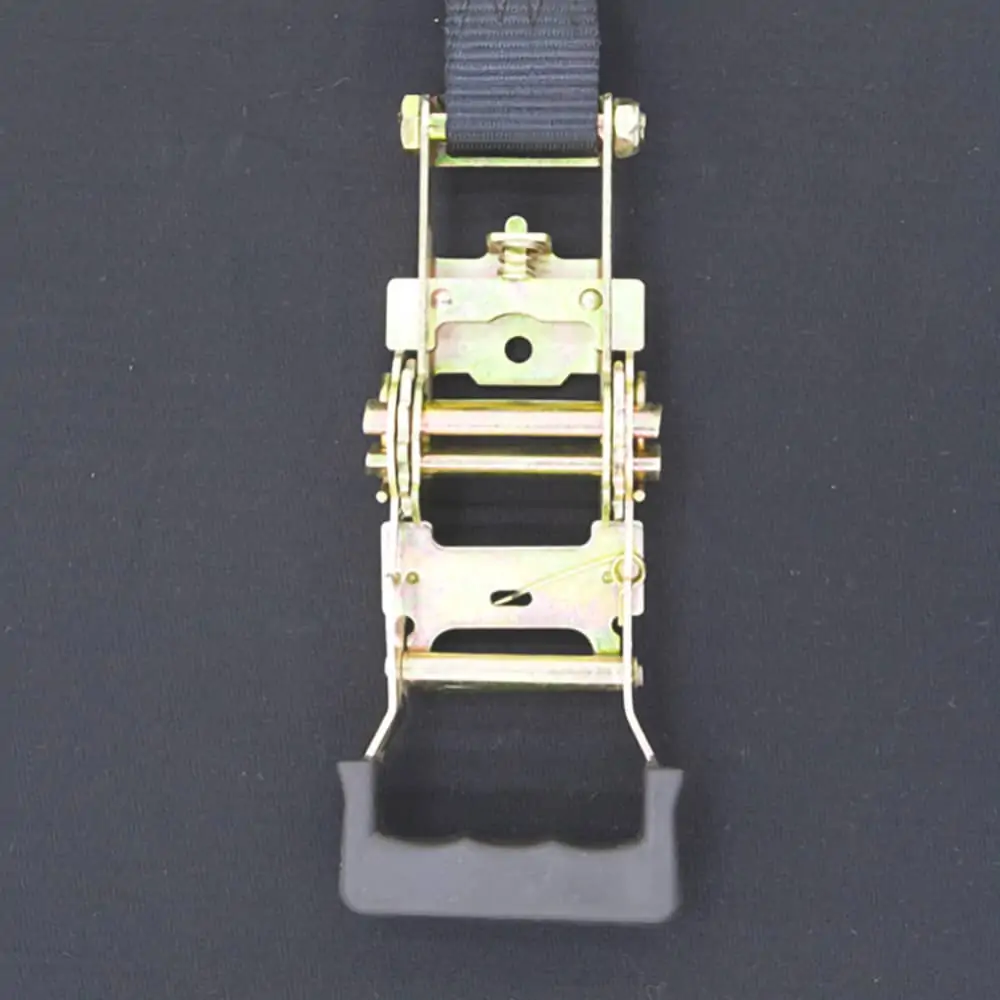
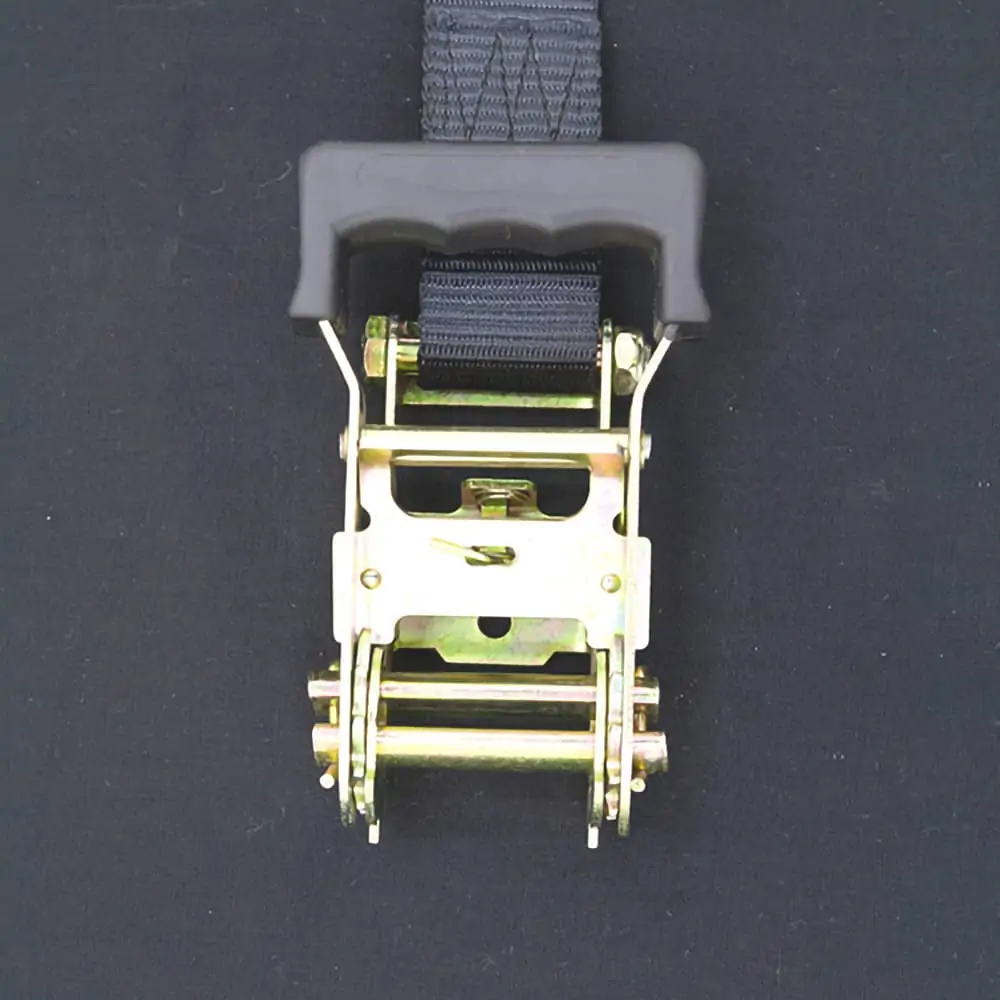
The components of a ratchet strap are shown below.
- Handle and Release – The ratchet strap’s axle is actuated by the handle, tightening the strap and securing your weight. The ratchet strap release, a tiny piece of metal or plastic you press to relieve the strap’s tension, is likewise located on the handle.
- Axle – The handle activates a rotating mechanism that tightens the strap.
- Slot – A narrow hole on the axle through which the strap is passed.
- Strap – The strap is made up of two parts. The non-connected strap is fed through the ratchet strap’s slot and axle, as well as the strap attached to the front of the handle.
- Hooks – Two metal hooks, one on each end, are connected to the straps and serve as anchor points.
We’ve included some basic recommendations about how to use a ratchet strap below, but if you don’t find what you’re looking for, send us an email. We’ll gladly answer any queries you have or take your purchase.

Techniques for the Correct Way to Use Ratchet Straps
A replacement ratchet strap will be sent in two pieces. These ratchet strap instructions will show you how to put them together for usage.
It’s critical to use a strap that has a Break Strength (BS) and a Working Load Limit (WLL) (WLL).
The break strength of each component of a ratchet strap assembly, including the webbing, ratchet, and end fittings, is established via independent testing. The break strength of a component refers to how much weight it can bear before failing.
The component with the lowest break strength is regarded as the break strength of the whole ratchet strap assembly since a tie-down assembly is only as strong as its weakest point.
The break strength is then used to calculate the working load limit. The working load limit is calculated by taking 1/3 of the weakest component’s break strength. This implies that tie down straps with a 10,000-pound assembly break strength has a working load limit of 3,333 pounds. Never use an assembly in applications that exceed its working load limit.
How to Use Ratchet Straps Like a Pro
- Step 1 – Pull the handle open.
Ratchet the axle with the handle until the open slot on the axle faces up. This hole will be used to pass the end of the webbing through.
- Step 2 -Take a look at the axle assembly.
To get simple access to the axle assembly, close the ratchet.
- Step 3- Take the lead with the webbing.
The webbing free end should be routed from under the ratchet, via the axle slot, and out in the same direction, it entered.

- Step 4 – Secure the hooks.
Attach the hook with the ratchet, along with the hook on the other webbing end, in place.

- Step 5 – Get rid of the slack.
Pull Out the webbing free end to remove any slack among the two hooks.

- Step 6 – Tighten any loose ends.
Raise and lower the handle of the rachet assembly in a pumping action for tightening any remaining slack. The axle should be wrapped in the webbing.

- Step 7 – Pull the handle closed.
After the webbing is completely taut, firmly close up the ratchet handle to tighten the strap in place, careful not to overtighten it, as this may cause irretrievable damage to ratchet straps.

- Step 8 – How to Discharge
Pull and hold the release lever to strip off the ratchet strap, to completely open the ratchet handle. Once the strap has sprung free, you may draw it back out via the axle hole.
- Step 9 – Storage ideas
For storage, consider connecting ratchet straps and webbing and securing them with a rubber band. You may also place them in their own bag and store them away from the sun in a cool, dry location. Mildew may grow in damp storage, and UV radiation can make nylon and polyester fibers brittle, causing them to discolor, break down, and potentially lose strength.

All image credit: Discountramps.com
Safety Ratchet Straps
Ratchet straps may be hazardous to work with. The ratchet strap is under a tremendous load when correctly fastened, and frayed, damaged, or poorly secured ratchet straps may break. Here’s how to use a ratchet strap safely without dying, being maimed, or losing a finger—hopefully.
Video Credit: Essential Craftsman
Frequently Asked Questions
- Is one ratchet strap enough to keep my cargo secure?
According to The Drive, using just one ratchet strap is not recommended, particularly for big, heavy, and awkward goods. Instead, using three or more anchor points will improve the security and safety of your goods.
- PICKUP TRUCK BED – Use two ratchet straps and anchor them in an “X” configuration when you have a tiny load that can fit in the center of the truck’s bed or when using a tarp to keep bulk goods secure.
- TRAILER – Depending on what you’re trailering, you’ll want to secure it with several ratchet straps. A yacht, for example, will need at least two ratchet straps near the engine, while a big riding lawn mower would need four ratchet straps, one for each wheel hub.
- CAR ROOF – When strapping items to your car’s roof, utilize an “X” pattern similar to the design in a pickup truck’s bed.
- Where Should My Ratchet Straps Be Secured?
Ratchet straps should always be fastened using the frame of a vehicle, the bed hooks of a pickup truck, or the frame of a trailer. Anchor points that aren’t going anywhere.
- Is a Slackline Nothing More Than a Ratchet Strap?
Both yes and no. The same mechanism as a ratchet strap is a slackline, a workout, and leisure equipment. On the other hand, a slackline is much more durable than a ratchet strap and has unique loops at the ends of the straps that enable you to secure the slackline and avoid falling off. A full-grown human’s weight is not rated for a typical ratchet strap.
- What Are Ratchet Straps and How Much Do They Cost?
Ratchet straps are very inexpensive, which is good news for you. Small ratchet straps may cost anywhere from $10 to $15, while bigger or heavier-duty ratchet straps can cost anywhere from $50 to $100, depending on how heavy-duty you need them to be.
- Can you tell me where I can get a ratchet strap?
Ratchet straps are so common that you can get them in almost any place that sells tools, such as Amazon, Home Depot, or Walmart.